
Boulder, Colorado - Flatiron Estate
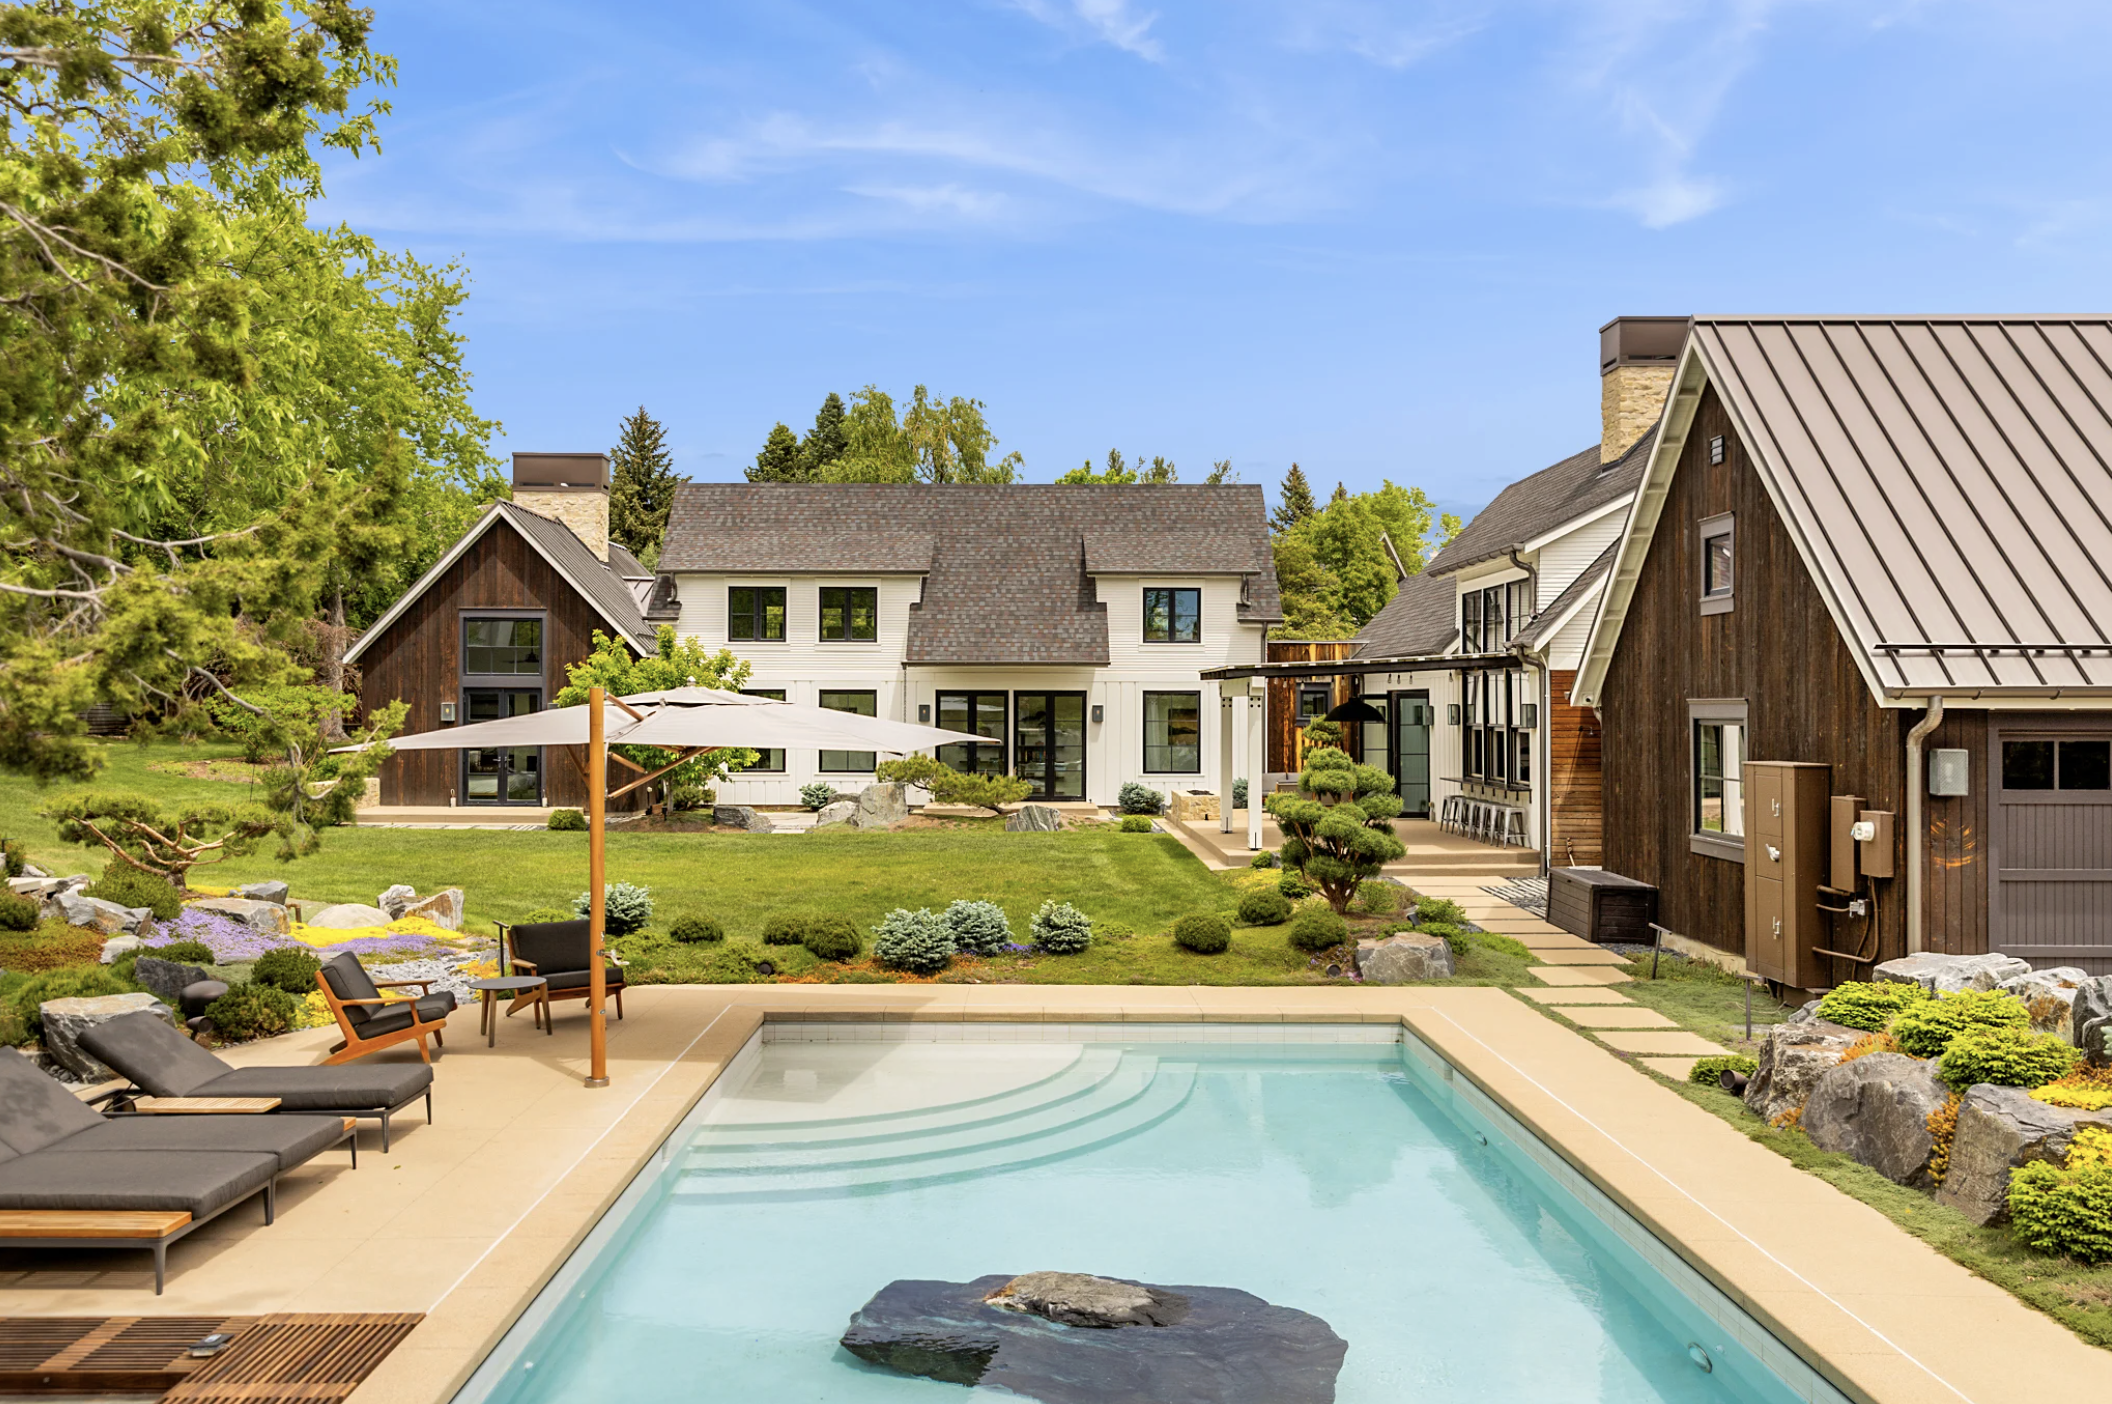
Boulder, Colorado - Farmhouse Estate

Mexico - Beachfront Mansion

Keystone, Colorado - Mountain Home

Keystone, Colorado - PH Ski-in / Ski-out